Test Patterns are simple demonstrations that are loaded directly onto VPixx Hardware. They have several uses:
-
Easily demonstrate specialty features of the device to lab members and visitors
-
Familiarize yourself with the special modes and their expected behaviour
-
Rapidly test and diagnose hardware issues
Accessing the Test Pattern Menu
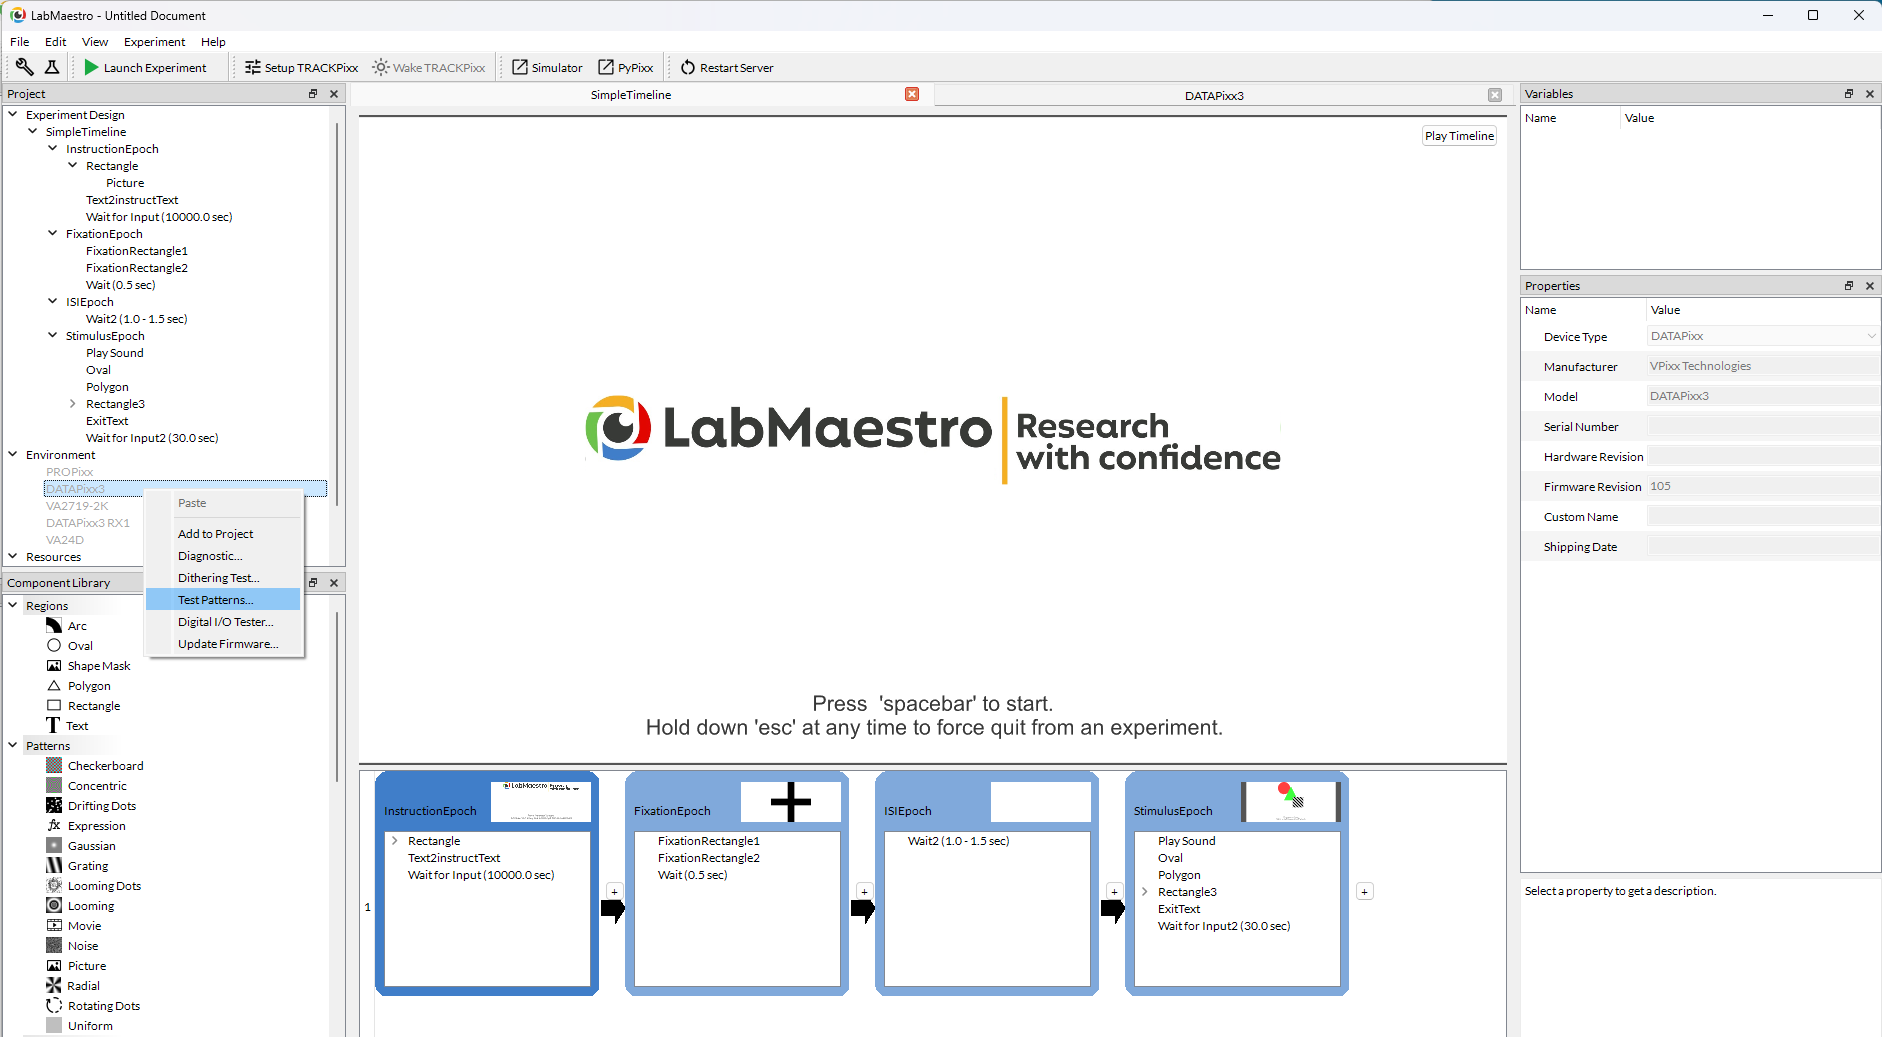
To access the Test Pattern Menu, follow the steps below:
-
Open LabMaestro
-
Ensure your VPixx devices are connected via USB, and powered on
-
Right-click on your device under the “Environment” section of the Project pane. Note that some devices like the PROPixx do not have onboard Test Patterns. Test Patterns associated with these devices can be found under their control unit (e.g., a DATAPixx3 or PROPixx Controller).
-
Select “Test Patterns” to open the Test Pattern Menu for the device.
The Test Pattern Menu will only list Test Patterns compatible with your selected VPixx device and connected peripherals. If you do not see a Test Pattern listed in the menu that is associated with your devices, double-check to ensure all necessary USB cables are connected to the PC.
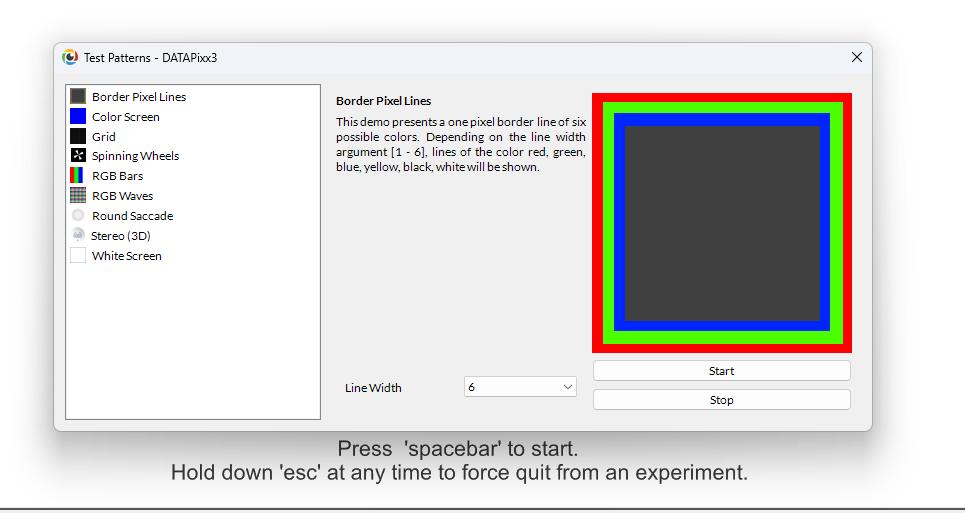
Click on a Test Pattern from the left-hand menu to see a preview image and a short description of the Test Pattern. Test Patterns can be started and stopped from the buttons below the preview.
While the Test Pattern is active, your VPixx device is unable to receive other commands from software. You will need to manually stop the Test Pattern in order to continue normal interaction with the device.
Some Test Patterns are interactive and/or allow the user to specify parameters for the Test. For example, the Border Pixel Lines Test Pattern for the DATAPixx 3 allows the user to specify the Line Width from a drop-down menu below the Test Pattern description. These parameters are exclusively used by the Test Pattern and will not affect other variables or default settings in LabMaestro or other programs.
Special Case: DATAPixx3 with PROPixx DisplayPort Connected
Most Test Patterns execute directly on device hardware. However, there are some exceptions, specifically for the DATAPixx3 with the new generation of PROPixx with DisplayPort input connected. The following Test Patterns are affected:
-
The Round Saccade demo will open a screen on the DATAPixx3 display. This screen will show on the PROPixx and any connected console monitor. The PROPixx must be at a resolution of 1920 by 1080 with a refresh rate of 120 Hz, in order for the Test Pattern to execute properly.
-
The Spinning Wheels will open a screen on the DATAPixx3 display. This screen will show on the PROPixx and any connected console monitor. The PROPixx must be at a resolution of 1920 by 1080 with a refresh rate of 120 Hz, in order for the Test Pattern to execute properly.
.png?cb=0132776a6476112718b51d2101af9275)
.png?cb=e661459e66844ce6494c25ade2f878e5)