These tools will only work with an X-Rite device purchased directly from VPixx Technologies.
This guide concerns the usage of X-Rite measurement tools (I1 Pro3, I1 Display, I1 Display Pro) and how they may be used within LabMaestro. This tutorial shows the properties of the I1 Display, but applies to all X-Rite hardware.
Accessing Measurement Tools
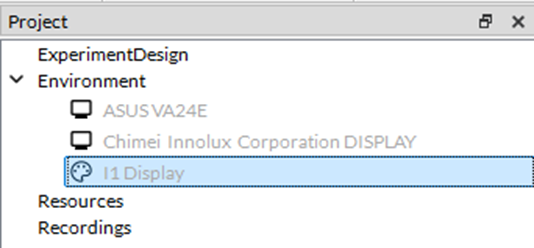
Your X-Rite device must first be connected to your computer via USB to be visible in LabMaestro. You should see your X-Rite device in the project tab under Environment. The device is grayed out as it is not part of the project, but clicking on it will allow you to access measurement tools.
Measurement Tools Overview
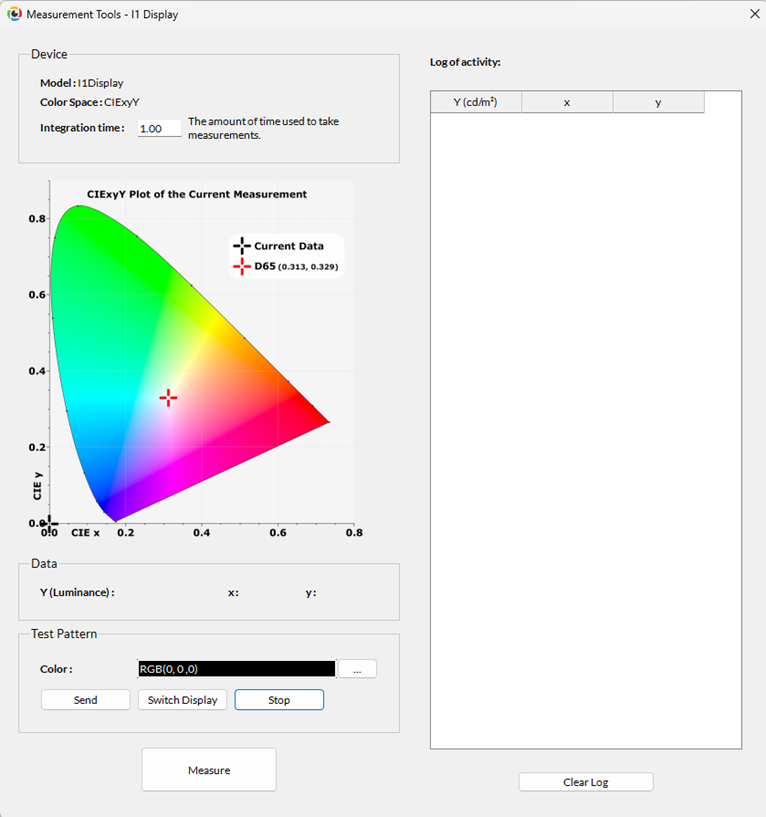
Looking at this menu, you can access a wide range of relevant information for your device.
Device
This section has information on your device model and the colorspace used for calibration.
I1 Display Only
The Integration time refers to the amount of time taken for a measurement. By default, this value is set at 1.00 seconds.
I1 Pro and I1 Pro3 Only
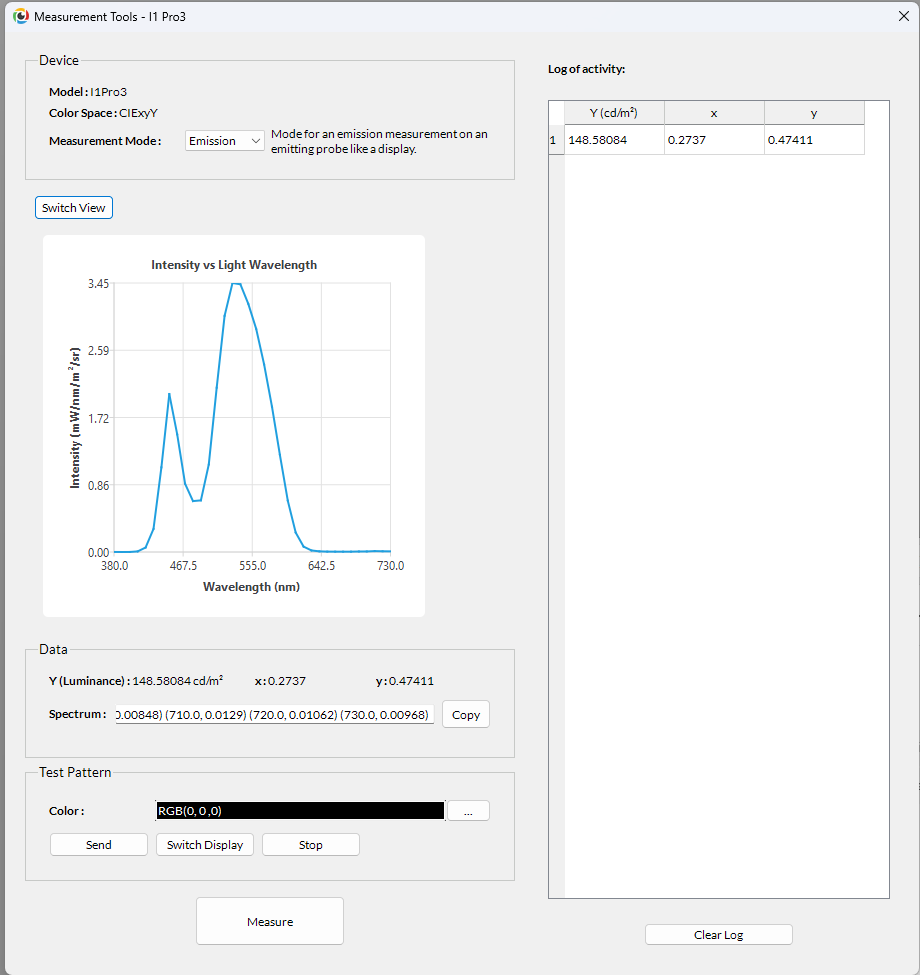
The Measurement Mode refers to how the measurements are taken on an I1 Pro or I1 Pro3. The possible options are Emission (for a display), Ambient (for a projector), and Reflection (for a reflective surface).
Data & Graph
This section shows the device's last measurement. Luminance (Y or L) is given in candelas per square meter (cd/m^2), and the x and y coordinates in the colorspace. By default, all values are empty. Above this section, there is also a triangle representing the gamut measured for your device if it is calibrated. The graph will show the current measurement (current data, represented as a black cross). By default, the black cross starts centered on the origin.
I1 Pro and I1 Pro3 Only
A switch view button allows you to see the measurement's spectral data.
Test Pattern
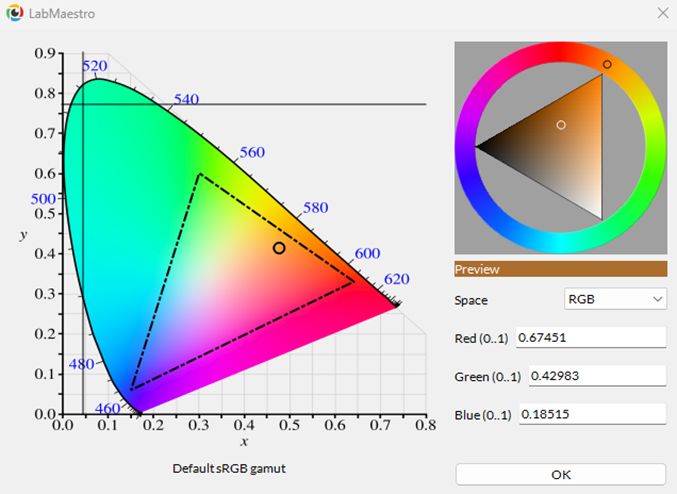
The Test Pattern window, at the bottom of the window, allows you to send a specific color. Once you have defined the RGB triplet you wish to measure, you can press the Send button to display this color on your display, filling the whole screen. By default, the color is displayed on the main display. Pressing the Switch Display button will allow you to cycle through all available displays. Press Stop to remove the test pattern.
Log of Activity
Pressing the Measure button below this section will allow you to measure the luminance for this particular test pattern. The measurement will be added to the Data section above and the Log of Activity to the right. For more information on how to properly set your device for measurement, please consult the hardware manual for your specific deviceHardware Documentation (PDFs).