The PROPixx projection system offers a variety of display configurations. Installing or moving your equipment can be more complex than installing a standard monitor. This guide offers general tips for setting up your projection system to get the most out of your display.

Recruit a colleague
Installing a projection system is easier with two or more people, especially in a waveguide installation where the projector and the screen are in different rooms. Ask a colleague to help you with the initial installation of the screen. One person can provide feedback on the clarity and position of the image while the other adjusts the projector and lens.
Consult the lens selection report
As part of your PROPixx purchase, you will have been offered a consultation session with one of our staff scientists. The goal of this consultation is to verify the projection geometry for your research space and ensure the correct lens and screen are included in your order. Since late 2024, our team has provided a summary report called the lens selection report, which details the results of this consultation. We encourage customers to consult this report during screen installation as a guideline.
You may not have received a report if you placed an order before late 2024. The consultation results should be available in our email correspondence. You can also contact us with your invoice number, and we can provide a summary.

.png?cb=f6909ec162dff7aa78fb39e0f5481e0d)
Use your target aspect ratio
By default, your PROPixx operates in 1920 x 1080 resolution, a 16:9 or ‘wide-screen’ aspect ratio. The PROPixx can also support 4:3 and 5:4 aspect ratios, but the image will be smaller.
If you anticipate using one of these other aspect ratios for your study, put the projector in this aspect ratio during screen positioning to optimize the final image size on your display.
Orient the screen correctly
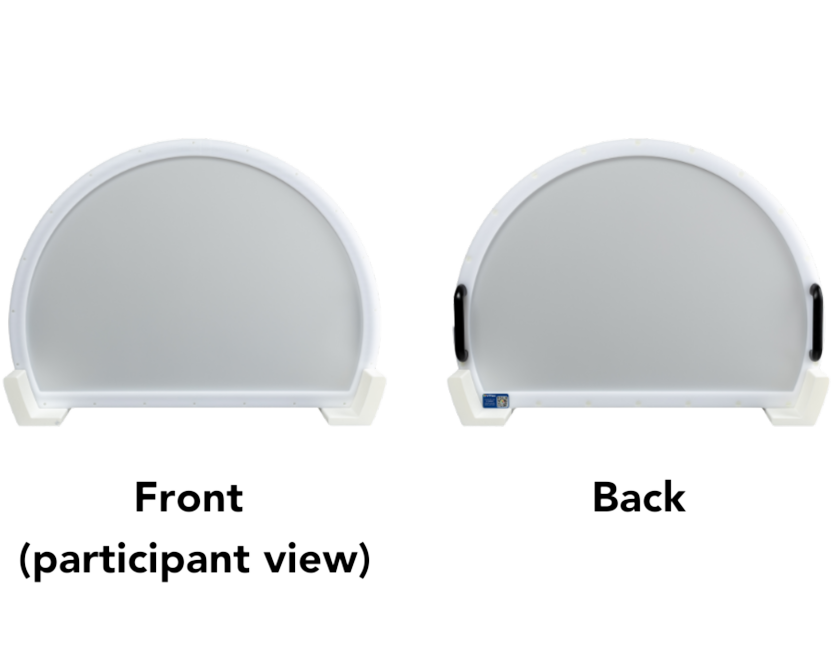
The projection screen has a front and a back. The back has a sticker with the VPixx logo on it. This side should face away from the participant. The front of the screen does not have any stickers or other distractions.
It is very important to orient your screen correctly. The image quality may be blurry or speckled if the screen is reversed.
Use a test pattern to center the image
Test patterns are simple images and videos loaded directly onto VPixx hardware. They can be used to test different device features and are helpful in positioning and focusing the projected image on your screen.
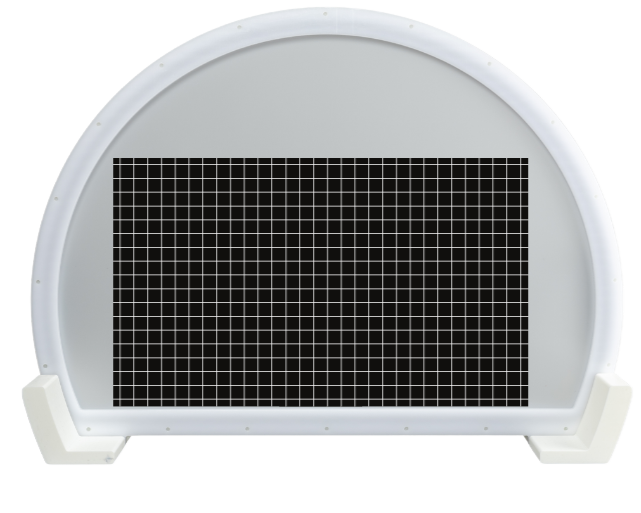
In particular, we recommend using the grid test pattern, which can be accessed in LabMaestro by right-clicking on the PROPixx in your environment panel and using the test pattern widget, or by pressing A on the PROPixx remote control.
In a properly aligned image, the lines and corners of the grid should be crisp, and the grid's edges should form an even rectangle without any distortion.
Start with coarse position adjustments and then fine-tune using lens shift
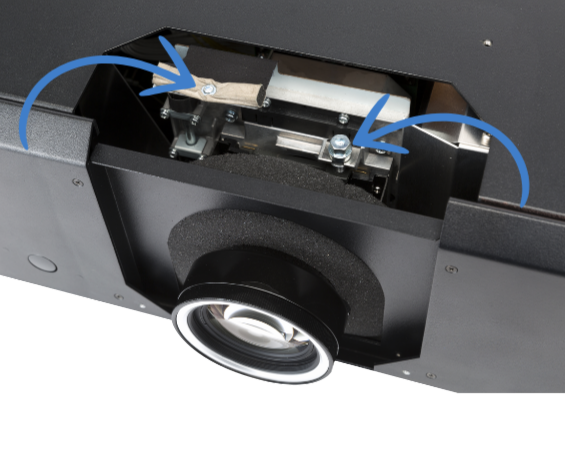
Adjust the physical height of the projector using the projector feet and the screen using the adjustable brackets until the projected image is in approximately the right position. You can then fine-tune the image position vertically and horizontally using the lens shift dials inside the lens mount of the PROPixx, using the provided hex key. For more details on lens shift, see the PROPixx user manual.
Use markers to keep track of screen placement
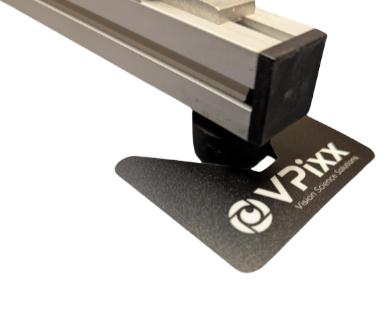
Our free-standing and tabletop screens come with V-shaped floor markers. If the screen is moved between experiments, for example during cleaning and/or equipment calibration, the markers ensure the screen can be re-positioned correctly.
In-bore screen users may wish to use tape or another unobtrusive method of marking the location inside the bore where the screen should be placed for specific studies or configurations.
Adjust the projector brightness as needed
On smaller displays, the screen may be overly bright at maximum luminance. Once your screen is in position, you can adjust the brightness to a comfortable level using our software tools. See this guide for more details: Adjusting PROPixx Brightness
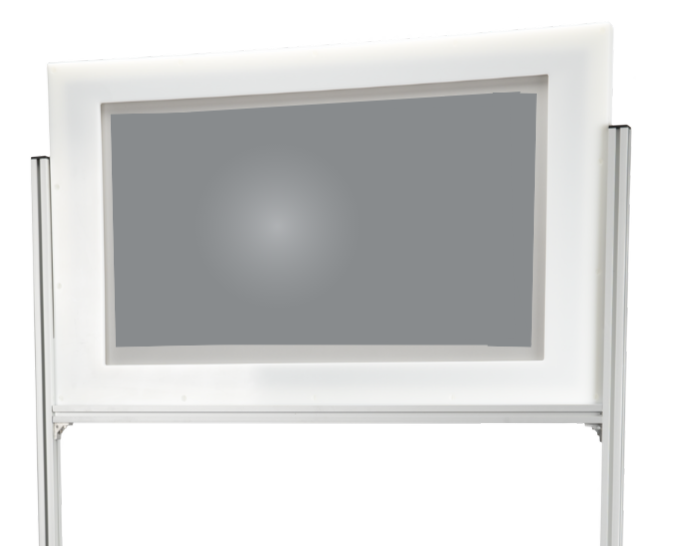
Check for hotspotting
Hotspotting occurs when light is not evenly distributed across the screen surface. It is characterized by non-uniform luminance or a halo effect on the part of the display. This is shown exaggerated in the image on the right. Hotspotting is more common with large displays at short projection distances. It is also more likely with 3D screen material.
It is possible to correct hotspotting digitally using a photometer and our automated hotspot correction procedure. More details will be provided soon.
Check out our other guides to get the most out of your PROPixx!
VOCAL is a growing library of resources for using VPixx products. Check out the following guides to get started:
-
Tips for Positioning your Projector and Screen -
Adjusting PROPixx Brightness -
PROPixx Projection Geometry and System Configuration -
PROPixx High Speed Projection Modes -
3D Projection with the PROPixx and 3D Polarizer -
Temporal Characteristics of the PROPixx DLP Projector -
Rapid Invisible Frequency Tagging (RIFT) using the PROPixx 1440 Hz mode