Overview
This page explains how to start the LabMaestro Hardware Simulator and outlines the steps to create a simulated hardware configuration.
For this tutorial, you will need the following:
-
LabMaestro is installed and activated
Launching the Hardware Simulator
To launch the LabMaestro Hardware Simulator, press the Simulator option in the top menu bar.

This will open the simulator Quickstart window, with the following options:
-
New Project: Select the desired device from the list of Supported Devices. This will allow you to set up a new configuration to simulate.
-
Recent Projects: Select one of the recently simulated devices. This is useful if you often need to simulate similar signals when developing an experiment.
-
Browse for project file…: Opens the file explorer, allowing you to load any VPixx Device Simulator Project file (*.vpds) saved on your computer.
Simulating a New Device
Say we wanted to simulate a DATAPixx3 device, we can click on the DATAPixx3 option under New Project. This will open the configuration window for this device.
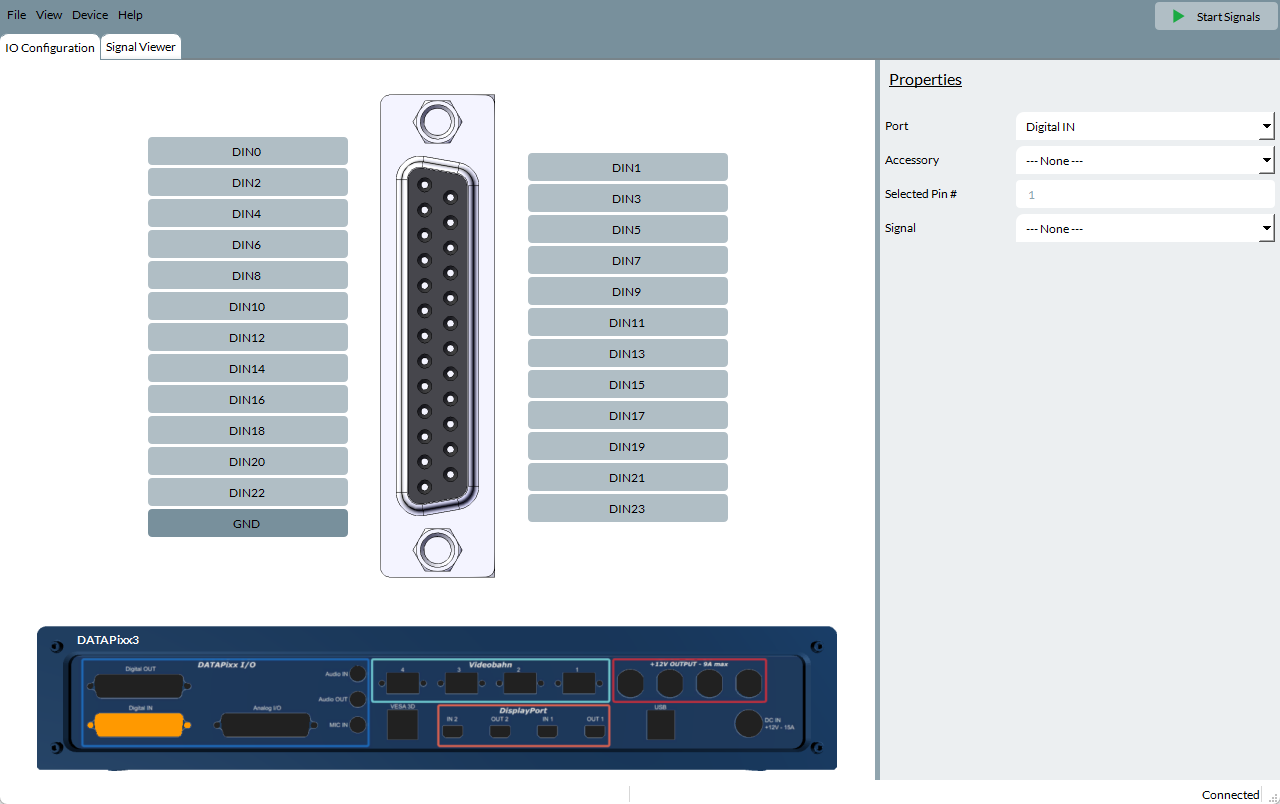
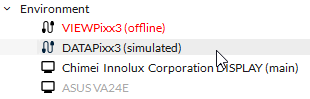
After starting this configuration, you should notice a simulated DATAPixx3 was added to your current LabMaestro environment.
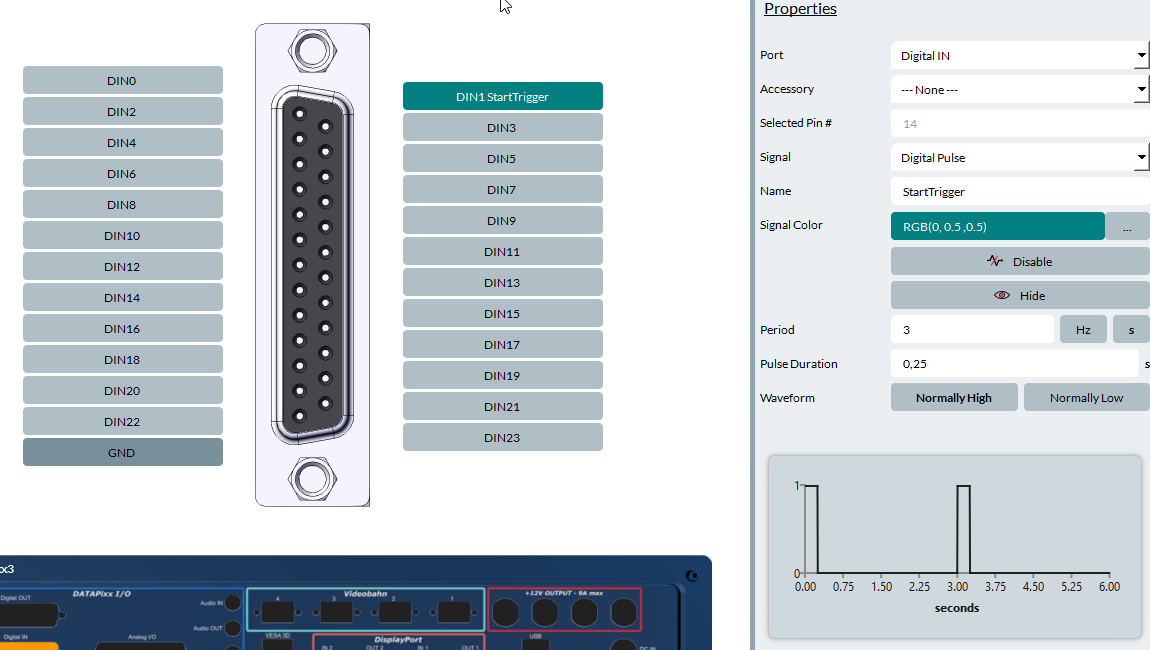
Say we are working off-site and need to simulate sending a Digital Input signal to test an experiment. We can change the Port, under Properties, to Digital In. We can then select the pin we want to send the signal from (say, DIN1) and enter the output properties. Here, we send a red signal with the name “StartTrigger.”
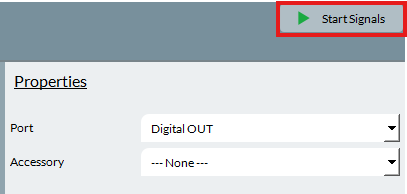
To start sending the signal, press Start Signals at the top-right of the simulator window.
In the Signal Viewer (top-left of the simulator window), we can press Choose Signals, then select the DOUT1 pin to confirm our signal is indeed being sent.
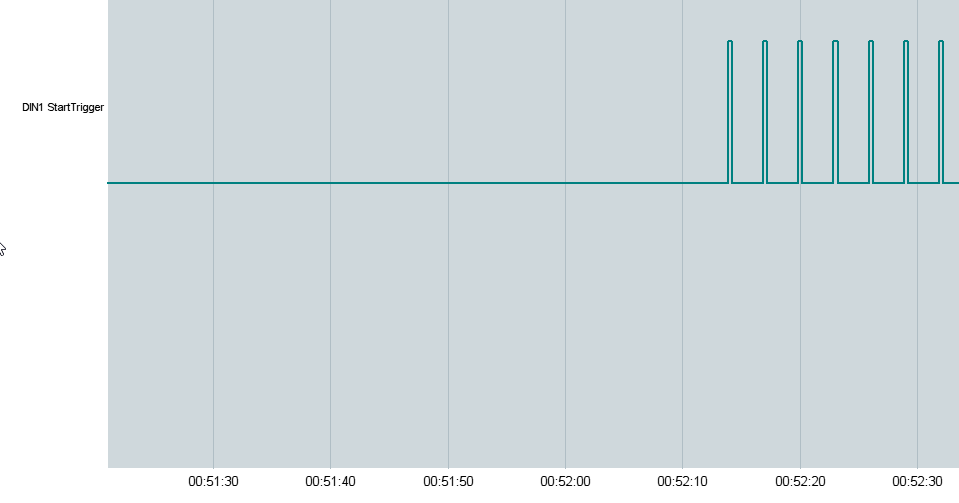
The signal sent through this simulated device will persist as long as the Simulator window is open or the Stop Signals (top-right) button is pressed.
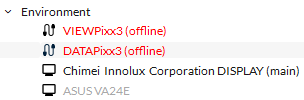
If you close the simulator window, your LabMaestro Environment will show your device as offline.
Sharing Simulator Configurations
To share simulated configurations between users or workstations, go to File → Save and save your configuration as a *.vpds file. This file can be loaded from any other instance of the LabMaestro simulator and will replicate the configuration you defined here.
You can try this by loading this test file: testDigitalInput.vpds
Related Links
Simulator Device Types and Coverage
Switching Between Real and Simulated Devices