White point calibration sets the white point to the maximum RGB values on your PROPixx device. Follow the steps below to properly calibrate your display:
To perform this calibration, you need access to an X-Rite calibration device purchased directly from VPixx, such as the I1 Display. See this page for more information on using these devices.
-
Start by adding your PROPixx device to your project, then click it to view its properties.
-
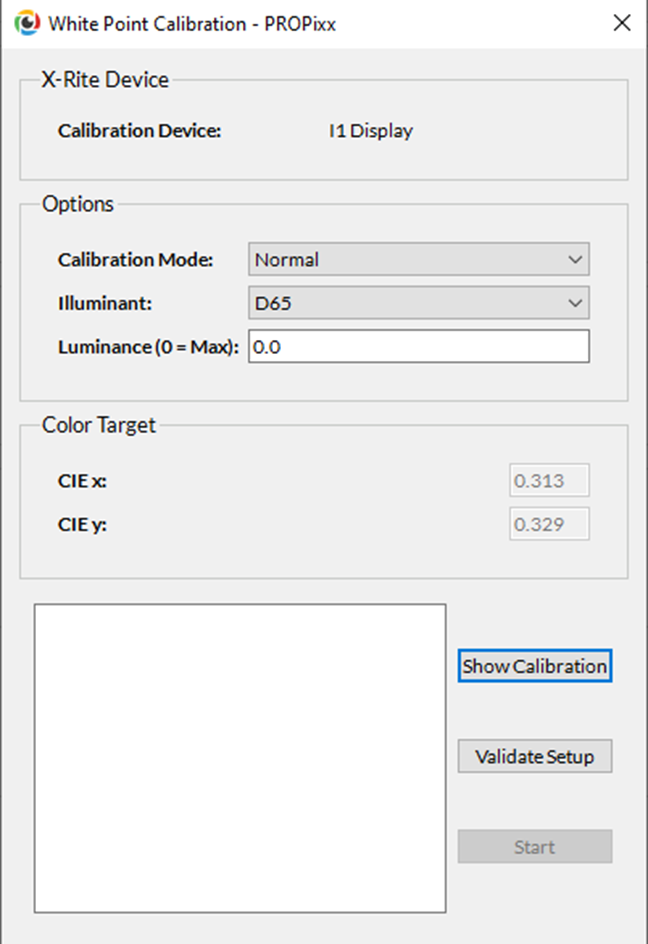
Press the White Point Calibration button, located near the top of the window. This will open the calibration window, containing the following elements:
-
X-Rite Device: This shows the type of X-Rite device connected to your computer. This is the device that will be used for the calibration.
-
Options: This allows you to define optional calibration parameters.
-
Calibration mode: Specify which mode you want to calibrate. This includes default mode, grayscale, high-bit-depth, and custom RGB.
-
Illuminant: Specify the illuminant properties used in the calibration. This can alter how colours are rendered on your display. By default, the illuminant is set to D65, which is a good approximation of natural daylight. Other options include D50, D55, and D75.
-
Luminance: Set the luminance intensity during the calibration. Setting the value to 0 sets the luminance intensity to the maximum.
-
-
Color Target: This provides the x and y coordinates of the target white point in the CIE colour space, determined by the selected illuminant and screen luminance.
-
-
In the lower section of the window, press the Show Calibration button to display the current calibration. You can review this data to confirm if your device is already calibrated.
-
Point your X-Rite device toward the PROPixx projected screen to successfully collect measurements. To ensure your device is correctly placed, press Validate Setup to confirm that measurements can be collected properly.
-
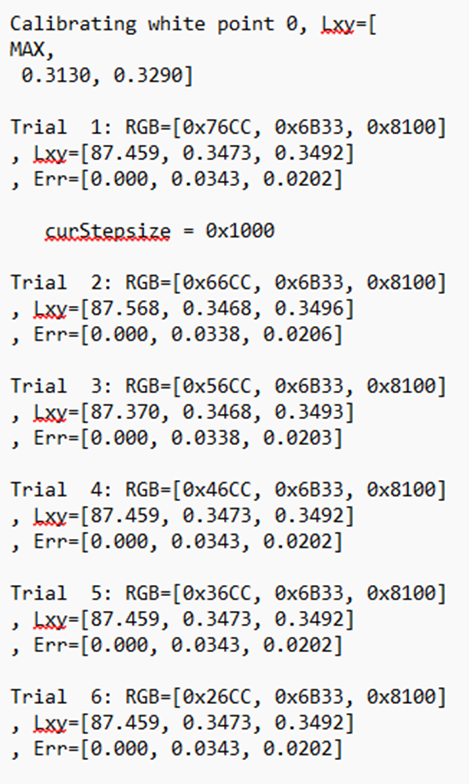
Once you are ready to start the calibration, press the Start button. The calibration will proceed automatically, logging measurements on every trial and showing your current progress as a percentage. You can close the window to cancel the calibration. Once the calibration is finished, closing the window will apply the new calibration to your projector.