Introduction
This page introduces users to resource elements and how to implement them in a LabMaestro experiment.
By the end of this tutorial, you will:
-
Know which resource types are compatible with LabMaestro.
-
Know how to import a resource in LabMaestro.
-
Know how to use a resource in LabMaestro components/Data Visualization.
Prerequisites
-
LabMaestro is installed and activated.
When attempting to use Resources in LabMaestro, you may see an error message informing you that a resource could not be loaded. Installing the Standard K-Lite Codec Pack may resolve the underlying issuehttps://codecguide.com/download_kl.htm.
Resources
Resources are digital media files imported into and then packaged within LabMaestro Project Files (*.lm). Common resources include audio, images, and video. LabMaestro uses resources in Epochs through the relevant Components. Resources are encoded and decoded using software or hardware tools that compress and decompress digital media files. These can include a variety of file types and content forms. We support a multitude of filetypes. If your resource is not added correctly, please contact us.
Importing Resources
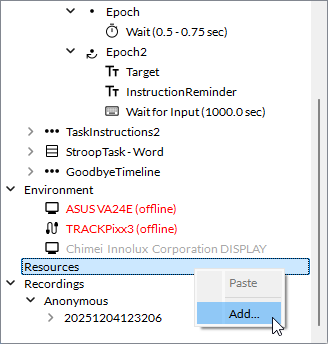
To import a resource to your LabMaestro project, right-click Resources in the project panel.
Select the resource file(s) you wish to import to your project from the file explorer.
Compatible files include:
-
Image files (ex. *.png, *.jpg)
-
Audio files (ex. *.wav, *.MP3)
-
Video files (ex. *.MP4)
Using Resources in Your Experiment
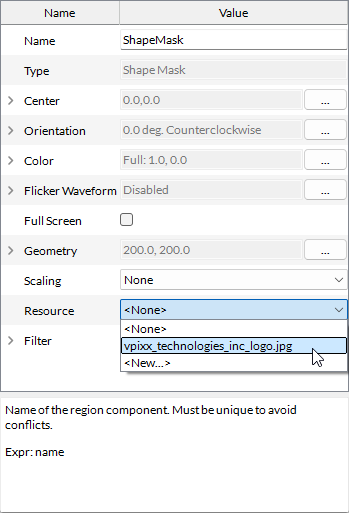
When adding a component to your project, you can select its tied resource by editing the component’s resource property.
If you have not previously imported the desired resource using the procedure above, you can click New… to open the file explorer, then import it into the project and link it to the current component.
Using Resources in a Condition List
As of Version 1.12, Resources (Picture, Movie, Audio) are now also supported within condition lists. This allows users to populate a condition list with all relevant stimuli for each trial/condition.
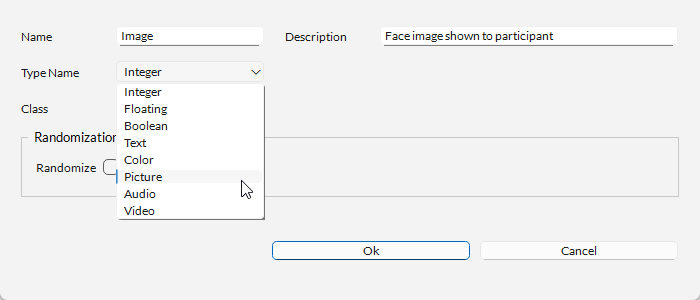
When creating a variable in a condition list, simply select the appropriate type for your resource.
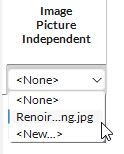
Once done, you can press Add Condition and select the desired resource for this condition.
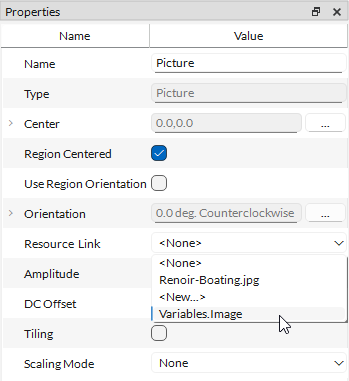
Components that rely on resources (e.g., Play Sound, Picture Pattern) can now accept condition list variables as inputs to their Resource property, allowing greater flexibility in experiment design.
Using Resources in Data Visualization
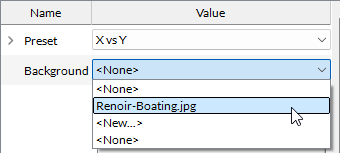
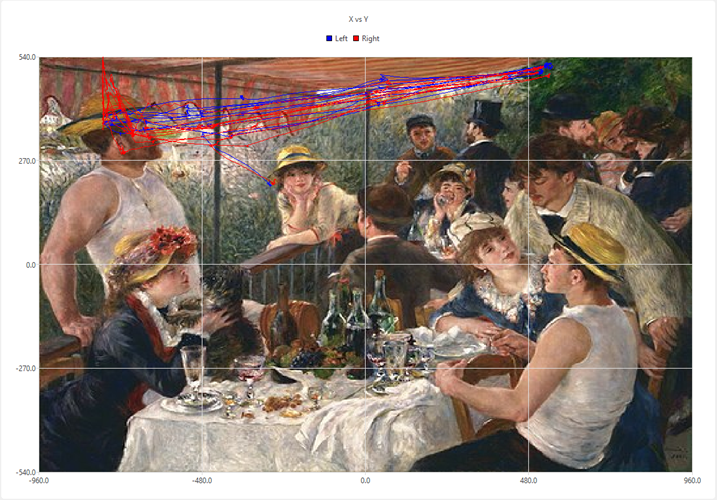
Similarly, you can use resources as a background for plotting data. For instance, this is useful to visualize TRACKPixx3 fixation paths, as you can plot them above an example stimulus (see the example below).
To do this, select the recording you wish to visualize from the Recordings menu. Then, select the desired resource from the Background property.