Hot Spot correction on the PROPixx corrects for non-uniform luminance across the projection screen. To perform a hotspot correction, you will need:
-
A device which can report the luminance value for specific screen points in cd/m^2, such as a spectrophotometer or colorimeter, and
-
A computer with LabMaestro 1.7 or later installed
We recommend using the i1Display Pro (VPixx Edition) colorimeter for automated measurements, otherwise measurements will need to be entered manually during the Hot Spot calibration routine.
Follow the steps below to properly calibrate your display:
-
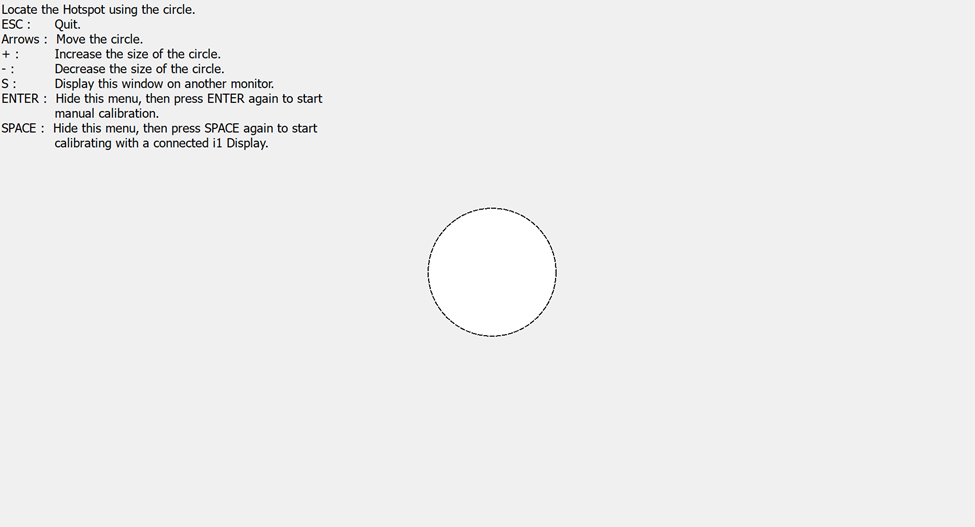
Start by adding your PROPixx device to your project, then click it to view its properties. Press the Hot Spot Correction button, located near the top of the window. This will open the full-screen Hot Spot correction window on the PROPixx:
-
Follow the on-screen instructions to indicate the Hotspot. If you have an i1Display connected, press the space bar to hide the instructions, and then press the space bar again to take the first measurement, in the indicated Hotspot region. If you are using a different device to measure luminance, press enter to hide the instructions, make your measurement in the indicated Hotspot, and then press enter again to manually enter the measured luminance.
-
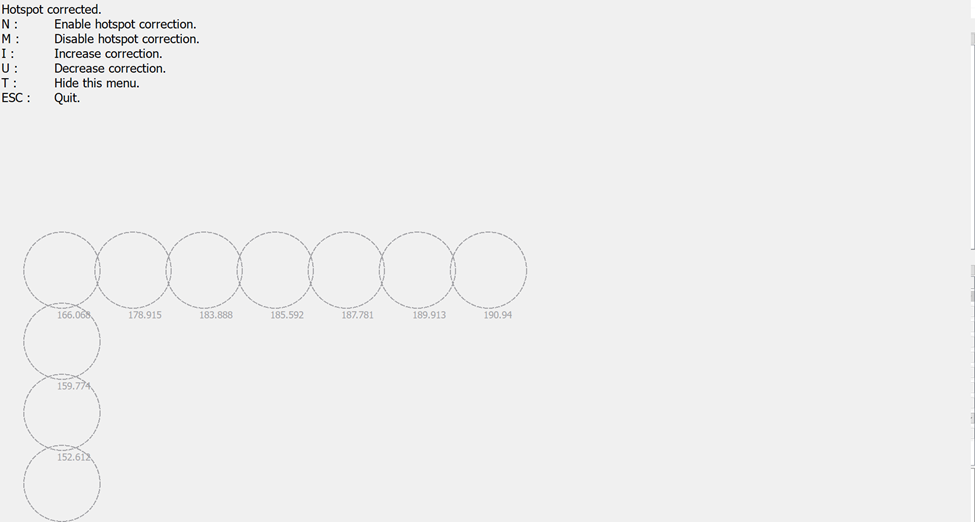
Continue following the on-screen instructions to take measurements at the different indicated calibration points.
-
When the Hotspot correction routine is completed. Follow the on-screen instructions to Enable the hotspot correction, Disable the hotspot, or increase and decrease the correction; or press Escape to quit. When you quit, your hotspot correction setting will be saved.
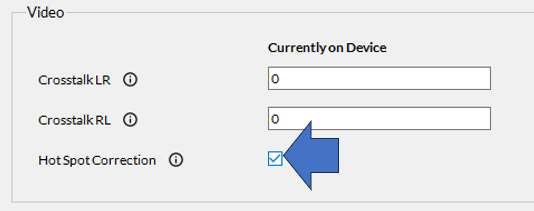
The Hotspot correction can be enabled in the PROPixx device settings, under Video; simply check the Hot Spot Correction box: