This documentation covers all projection screens offered by VPixx Technologies. Assembly instructions for specific screens are given in the relevant sections.
Product Overview
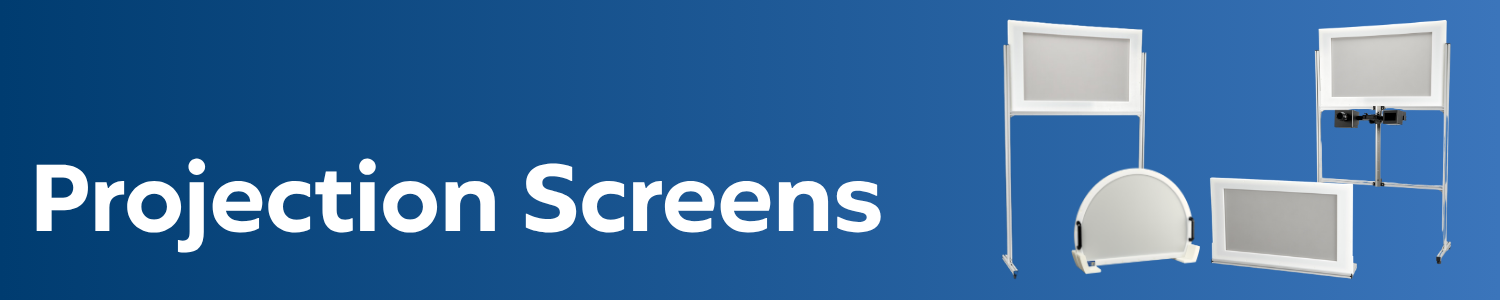
As a courtesy service for our PROPixx customers, VPixx Technologies offers a range of projection screens. Our screens feature robust plastic frames paired with high-quality flexible projection material, ensuring outstanding image quality and durability. Aluminum stands and feet are adjustable to accommodate a range of image heights and screen locations.
We offer a line of universal in-bore screens for MRI facilities to ensure the largest possible screen size for your participants. These screens include handles for easy placement and sturdy plastic feet to support the screen against the bore.
Screens come flat-packed and are easy to install. For standing screens, floor markers are provided to ensure reliable placement and re-placement. If you need a custom screen size for a unique space, contact our sales department, and we will assist you.
All VPixx screens are made from MRI- and MEG-safe materials and are suitable for behavioural and neuroimaging environments. To learn more about different material types (2D vs. 3D) see our guide to 3D projection with the PROPixx projector.
Product Details
Please refer to the section on MRI safety indicators below for details regarding the MRI labels on your equipment.
Assembly and Installation
The following chart will help you navigate to the assembly instructions for your specific screen model. Note that in-bore screens are fully assembled and arrive in a single piece.
To find your screen product code, refer to your invoice or shipment packing list; you can also use the product name in the chart to identify your screen.
|
Product code |
Name |
Assembly Instructions |
|---|---|---|
|
Free-standing screens |
||
|
VPX-ACC-5178 |
MRI-compatible rear projection screen with frame and stand for external installation - 25.5" X 14.5" |
Projection Screens | Assembly Instructions for Free standing Screens |
|
VPX-ACC-5180 |
MRI-compatible 3D rear projection screen with frame and stand for external installation - 25.5" X 14.5 |
|
|
VPX-ACC-5182 |
MRI-compatible rear projection screen with frame and stand for external installation - 39“ X 29.5” |
|
|
VPX-ACC-5184 |
MRI-compatible 3D rear projection screen with frame and stand for external installation - 39" X 29.5" |
|
|
VPX-ACC-5197 |
MRI/MEG compatible rear projection screen with frame - 51.5” X 29" |
|
|
VPX-ACC-5199 |
MRI/MEG compatible 3D rear projection screen with frame - 51.5“ X 29” |
|
|
Tabletop screens |
||
|
VPX-ACC-5170 |
Rear projection screen table mount - 25.5" X 14.5" |
Projection Screens | Assembly Instructions for Tabletop Screens |
|
VPX-ACC-5172 |
3D ear projection screen table mount - 25.5" X 14.5" |
|
|
VPX-ACC-5174 |
Front projection screen table mount - 25.5” X 14.5" |
|
|
VPX-ACC-5176 |
2D/3D front projection screen table mount - 25.5" X 14.5' |
|
|
In-bore MRI screens |
||
|
VPX-ACC-5186 |
MRI-compatible rear projection screen for internal installation, generic 60 cm bore |
Comes fully assembled |
|
VPX-ACC-5187 |
MRI-compatible 3D rear projection screen for internal installation, generic 60 cm bore |
|
|
VPX-ACC-5188 |
MRI-compatible rear projection screen for internal installation, generic 70 cm bore |
|
|
VPX-ACC-5189 |
MRI-compatible 3D rear projection screen for internal installation, generic 70 cm bore |
|
Assembly Instructions for Free-standing Screens
What's included
The following components are included in your order. All components are MRI-safe.
See the section on Projection Screens | MRI Safety Indicators for more information on MR safety symbols on your hardware and their meaning.
|
Quantity |
Name |
Item |
MR safe? |
|
1x |
Screen |

|
Yes |
|
1x |
Frame (various lengths depending on model) |
|
Yes |
|
2x |
Support leg with feet and brackets (lengths vary by screen model) |

|
Yes |
|
1x |
4 mm Hex tool |
|
Yes |
|
4x |
Floor markers |
%20(2).png?cb=f03368308a458a8943988b96098d657e)
|
Yes |
Assembling the screen
-
Unpack the screen components from the shipping boxes and lay the items on a stable surface.
-
Loosen the bolts on the bracket attached to one leg. This allows the crossbar to slide onto the bracket.
-
Slide the crossbar onto the bracket and tighten the bolts to fix it in place. Then tighten the bolt on the angle bracket on the underside of the crossbar to secure it. Repeat for the other leg.
-
To adjust the screen height (optional), loosen the bolt on the angle bracket that attaches to the leg. Do this for either side and slide the screen to the desired height. Re-tighten the screws to fix the screen back in place.
-
Attach the plastic caps over the angle brackets on each leg.
-
Slide the frame into the two legs. Use the grooves on the legs as a guide. The side with the crossbar piece is the BACK of the screen.
-
Attach the rectangular bracket to affix the screen to the crossbar. Tighten the plastic screws on the top of either leg to fix the screen to the legs.
-
Place the screen in the desired location. Use the floor markers to mark the screen foot positions for repeatable setup between sessions. See Tips for Positioning your Projector and Screen
Assembly Instructions for Tabletop Screens
What's included
The following components are included in your order. All components are MRI-safe.
See the section on Projection Screens | MRI Safety Indicators for more information on MR safety symbols on your hardware and their meaning.
|
Quantity |
Name |
Item |
MR safe? |
|
1x |
Screen |
|
Yes |
|
1x |
Frame |
|
Yes |
|
2x |
Support leg |
|
Yes |
|
2x |
Foot support |

|
Yes |
|
1x |
4 mm Hex tool |
|
Yes |
|
4x |
Markers |
|
Yes |
Assembling the screen
-
Unpack the screen components from the shipping boxes and lay the items on a stable surface.
-
Insert one support leg into a foot support by sliding it into the bracket, ensuring the leg is upright. Secure the leg by tightening the bracket fastener with the 4 mm hex. Repeat for the second support leg and foot support.
-
Attach one side of the frame to one of the vertical supports using the bracket. Tighten the fastener using the 4 mm hex. Repeat for the other side of the frame and the second vertical support.
-
Slide the screen into the U shape created by the frame and vertical supports. Ensure the screen is fully settled in the metal grooves.
-
Place the screen in the desired location. See Tips for Positioning your Projector and Screen
Product Specifications
Our screens are manufactured as a courtesy service for our customers. We are happy to provide our supplier’s screen material specifications upon request. If you have any questions, please Contact Us.
Cleaning and Maintenance
The stand's plastic and aluminum frame can be cleaned with disinfectant wipes or a soft cloth sprayed with a cleaning solution.
Flexible projection screens should not be treated with commercial disinfectants, as harsh solvents can damage the material. Instead, we recommend wiping them with a soft cloth and gentle soap, such as hand soap. Grease spots can be spot-cleaned with a water-based detergent and warm water.
Troubleshooting your Screen
For troubleshooting your projector, see our guide Diagnosing Display Issues on the PROPixx Projector
|
Issue |
Solution |
|---|---|
|
The image is blurry/out of focus, no matter how much you adjust the lens. |
The screen is probably too close to your projector for your specific projection lens. Consult your lens selection report to see your minimum achievable image size. |
|
The screen material is streaky |
Wipe the screen with a soft cloth and gentle soap. |
|
The screen material is speckled and/or 'sparkles' are in the image. |
The screen is most likely backwards. Rotate the screen 180 degrees so that the sticker on the frame faces away from the participant. |
|
Image is too bright |
|
|
Image appears to be non-uniform in brightness |
Caused by hotspotting. See our guide [COMING SOON] |
|
Screen material is sagging or has buckled/become unglued |
Contact VPixx customer support with photos and your invoice number. Contact Us |
Related Links
Compliance, Safety and Warranty Information
Click on the sections below to expand the relevant information.
Safety and Warnings
The following table shows MR safety warning indicators and their names and meanings. Please pay special attention to the symbols on your equipment, and obey all guidelines to protect staff and equipment from injury.
|
Symbol |
Name |
Description |

|
MR safe |
Components marked with the green MR safe indicator present no danger to staff and equipment operating in the MR room. |

|
Conditionally MR safe |
The yellow Conditionally MR safe indicator denotes components that are only MR safe in a limited fashion. Product-specific safety requirements apply. For additional details, consult the product manual's safety section. |

|
MR unsafe |
The red MR unsafe indicator denotes components prohibited from entering the MR room. |