Introduction
The M16 (High Bit Depth Grayscale) video mode provides higher precision in gray levels by combining the bits of the red and green colour channels, with the blue channel usable to produce a hidden grayscale overlay. This demo explains how to define a stimulus in the LabMaestro Experiment Builder as part of the overlay, providing experimenters with additional information on a separate display that participants do not see.
Prerequisites
-
LabMaestro is installed and activated.
-
Two displays (one main display and one experimenter display)
-
A DATAPixx device compatible with the M16 rendering mode.
Project Files
Step 1 - Enable M16 Mode (High Bit Depth Grayscale)
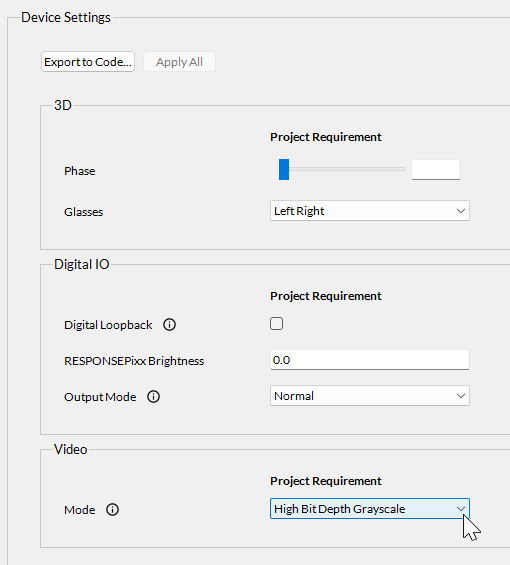
To enable M16 mode, click your DATAPixx device under the Environment tab in the Project window. Set the Mode property to High Bit Depth Grayscale. You can now define regions as part of the overlay.
Step 2 - Draw a Region on the Overlay
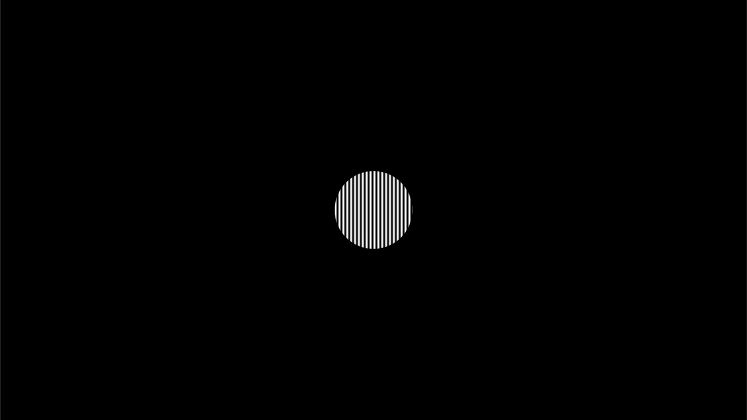
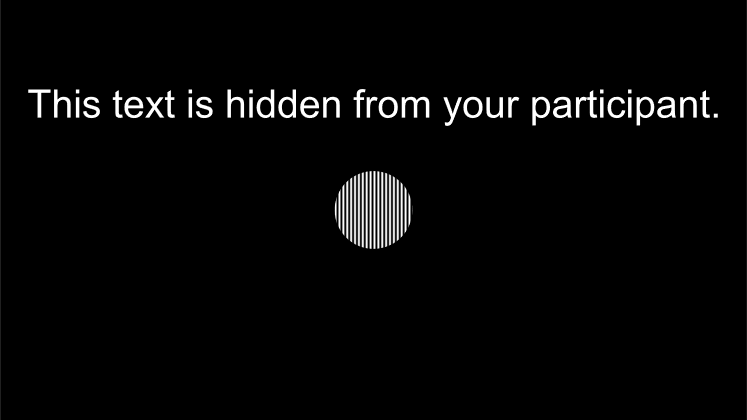
To specify a region as part of the overlay, click on the desired region and change the Frame property to Overlay. Doing this hides the region from your timeline overview. By starting the experiment, you can confirm this region is invisible on the main experimental display. However, it will be visible on the second monitor.
In the provided demo, a text region is visible only on the second display, while a circular grating stimulus is visible on both displays.
Related Links
M16: 16-bit greyscale and limited colour, full resolution