
Introduction
Sometimes, you may need your experiment to check if a subject is fixating on the screen, either in general or on a specific area. This template experiment showcases how you can use the LabMaestro fixation functions to change your experiment behaviour.
Prerequisites
-
Have LabMaestro installed and activated
-
Have a TRACKPixx3 connected to your computer via a DATAPixx3, or use the LabMaestro Hardware Simulator to simulate a TRACKPixx3
Template Experiment
Using fixation() and isfixating() during a LabMaestro experiment
Function Intuition
By default, LabMaestro will save a fixation variable in eye tracker data that can be used to identify when the subject is currently fixating; however, to optimize performance, this information is not accessible during the experiment session. As a compromise, LabMaestro offers two functions that allow you to access this information at specific times when you need it.
isfixating()
isfixating() is the most straightforward function. It takes no argument and simply returns True if your subject is currently fixating a point, regardless of where it is on the screen.
fixation()
The fixation() function is more precise, allowing you to check if your participant is currently fixating on a specific point on the screen. It requires the following arguments:
-
targetX: The X coordinate of the desired fixation target.
-
targetY: The Y coordinate of the desired fixation target.
-
error: The accepted error on the measured fixation, in pixels. This error is the same in all directions (vertically, horizontally and diagonally).
Template Experiment Overview
Timeline 1 - Showcasing how error influences the accepted fixation area
As an example, let us consider a case where targetX = 0, targetY = 0, and error = 100. The fixation() function will return true if the participant is fixating within 100 pixels of the center of the screen, as shown in the figure below, to the right. You can adjust the value of the error timeline variable to experiment with different error values.
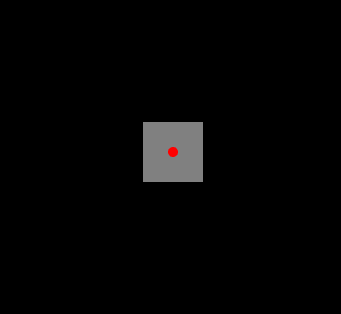
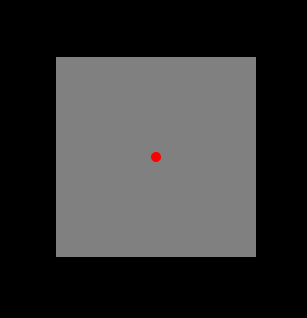
In the template experiment, this timeline will last until a fixation is recorded within the error area around the target.
Timeline 2 - Using fixation() to identify fixations on specific area
In a second timeline, four colored circles (white, red, green and blue) will be shown in the four corners of the screen. Using the fixation() function, we can make it so if your subject looks at a specific region, text appears next to it confirming that the fixation is measured. This is done using the conditional operator (?). As an example, the text for the white target is created using the following expression:
=white.center.x, white.center.y, 200)? "You are looking at this target":""
This makes it so the text only appears when a fixation is detected within 200 pixels of the white circle’s center.
On the bottom of the screen, a text region shows text that changes depending on whether your tracker measures a fixation at a given timepoint, regardless of the fixation coordinates, using isfixating(). This is also done using the conditional operator, through the following expression:
=isfixating()? "You are fixating":"You are not fixating"