In this tutorial, we will demonstrate how to use the Region Flicker Waveform property as a convenient way to generate flickering stimuli for Rapid Invisible Frequency Tagging (RIFT) applications on the PROPixx. For more information on the RIFT paradigm, see our VOCAL article on the topic here: https://vpixx-support.atlassian.net/wiki/x/IYDSGQ
First, we will cover how to use the Region Flicker Waveform property. Once you’ve added a region in your project timeline, you can choose to automatically flicker it according to a specified waveform; the waveform amplitude, phase, frequency, and shape can all be customized. The flicker automatically modulates the color of the region between “end-point” values, which are specified in the region’s color property settings. For example, if in the region’s Properties panel, the color type of the region is set to “Full”, then the endpoints of the flicker will be full-white and full-black. If the color type is set to Peak Trough, then the end-points of the flicker will be the user-specified “peak” and “trough” color values.
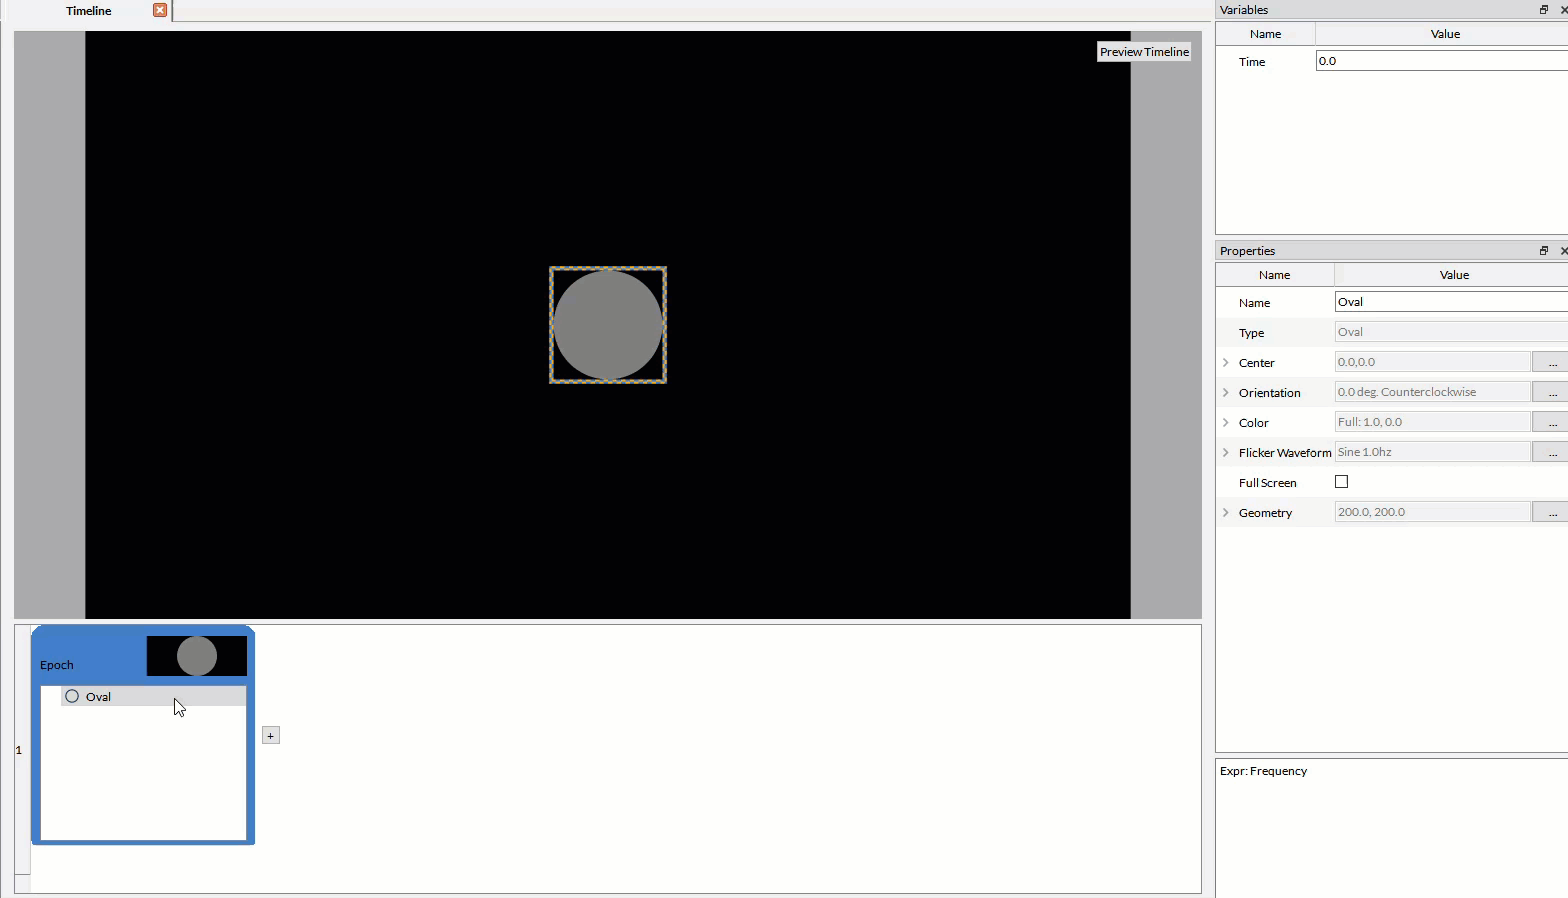
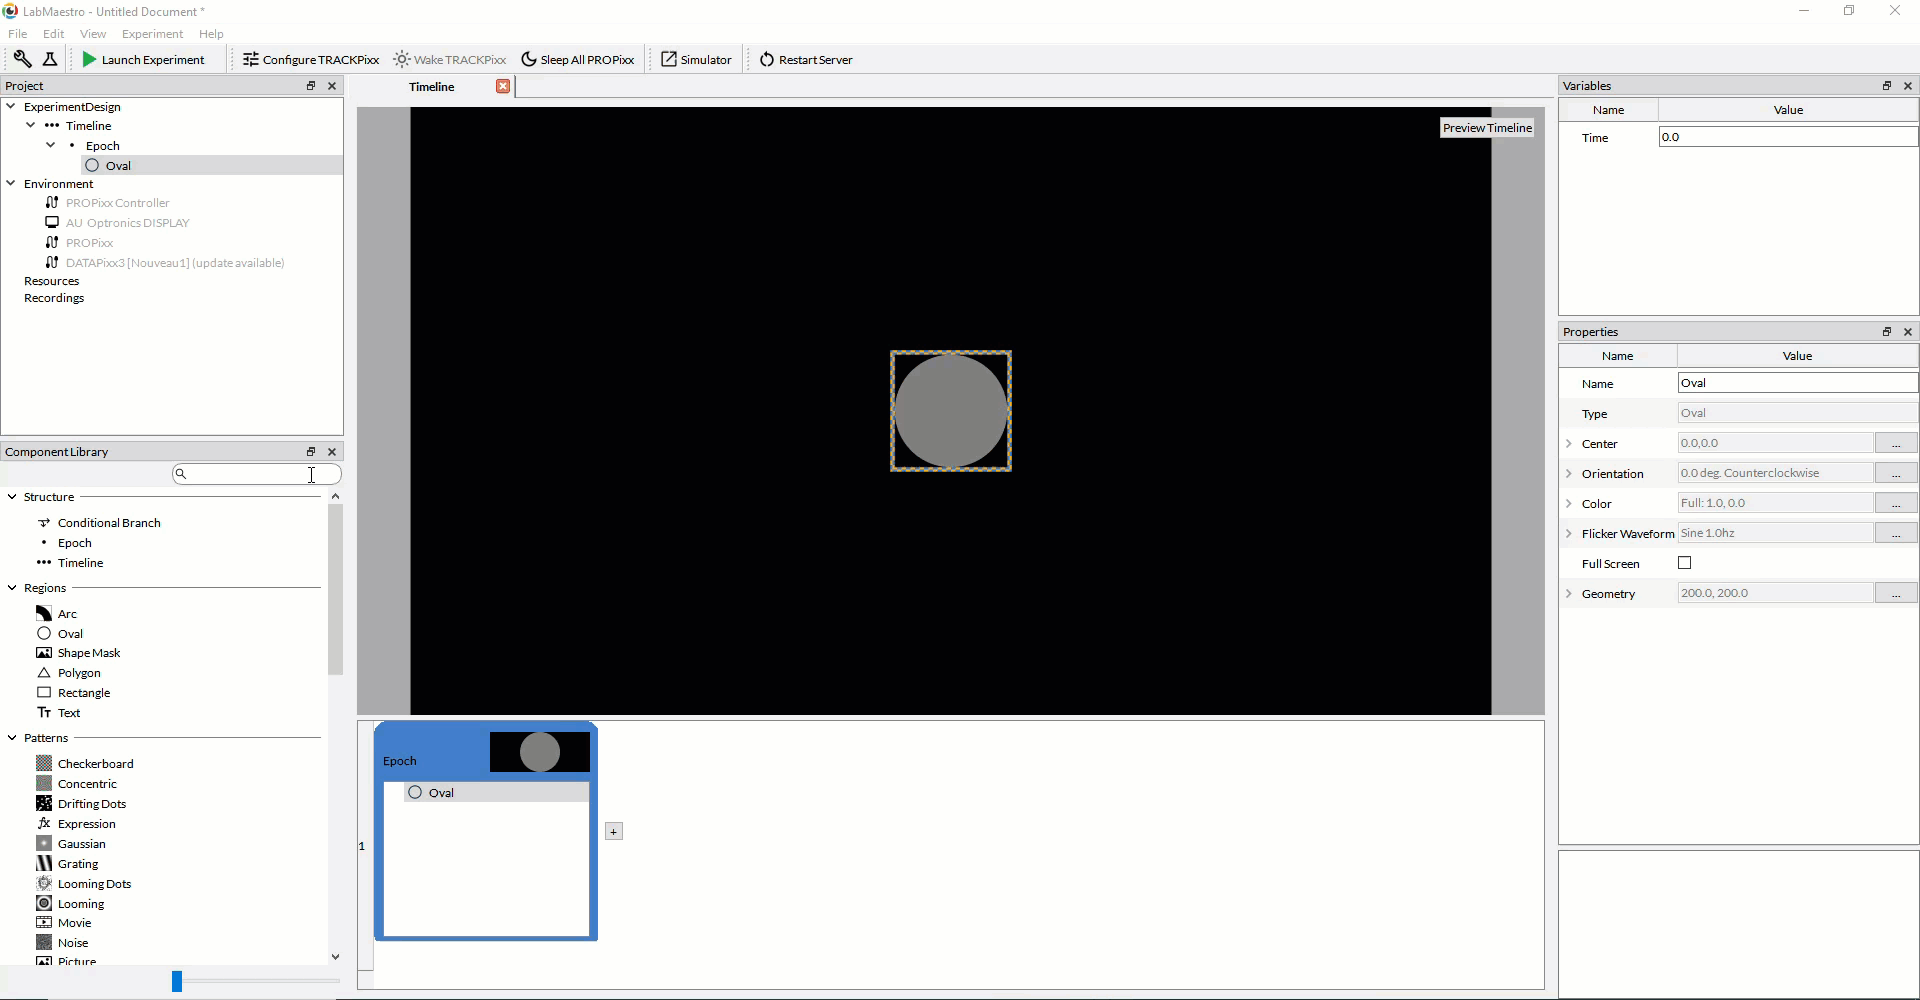
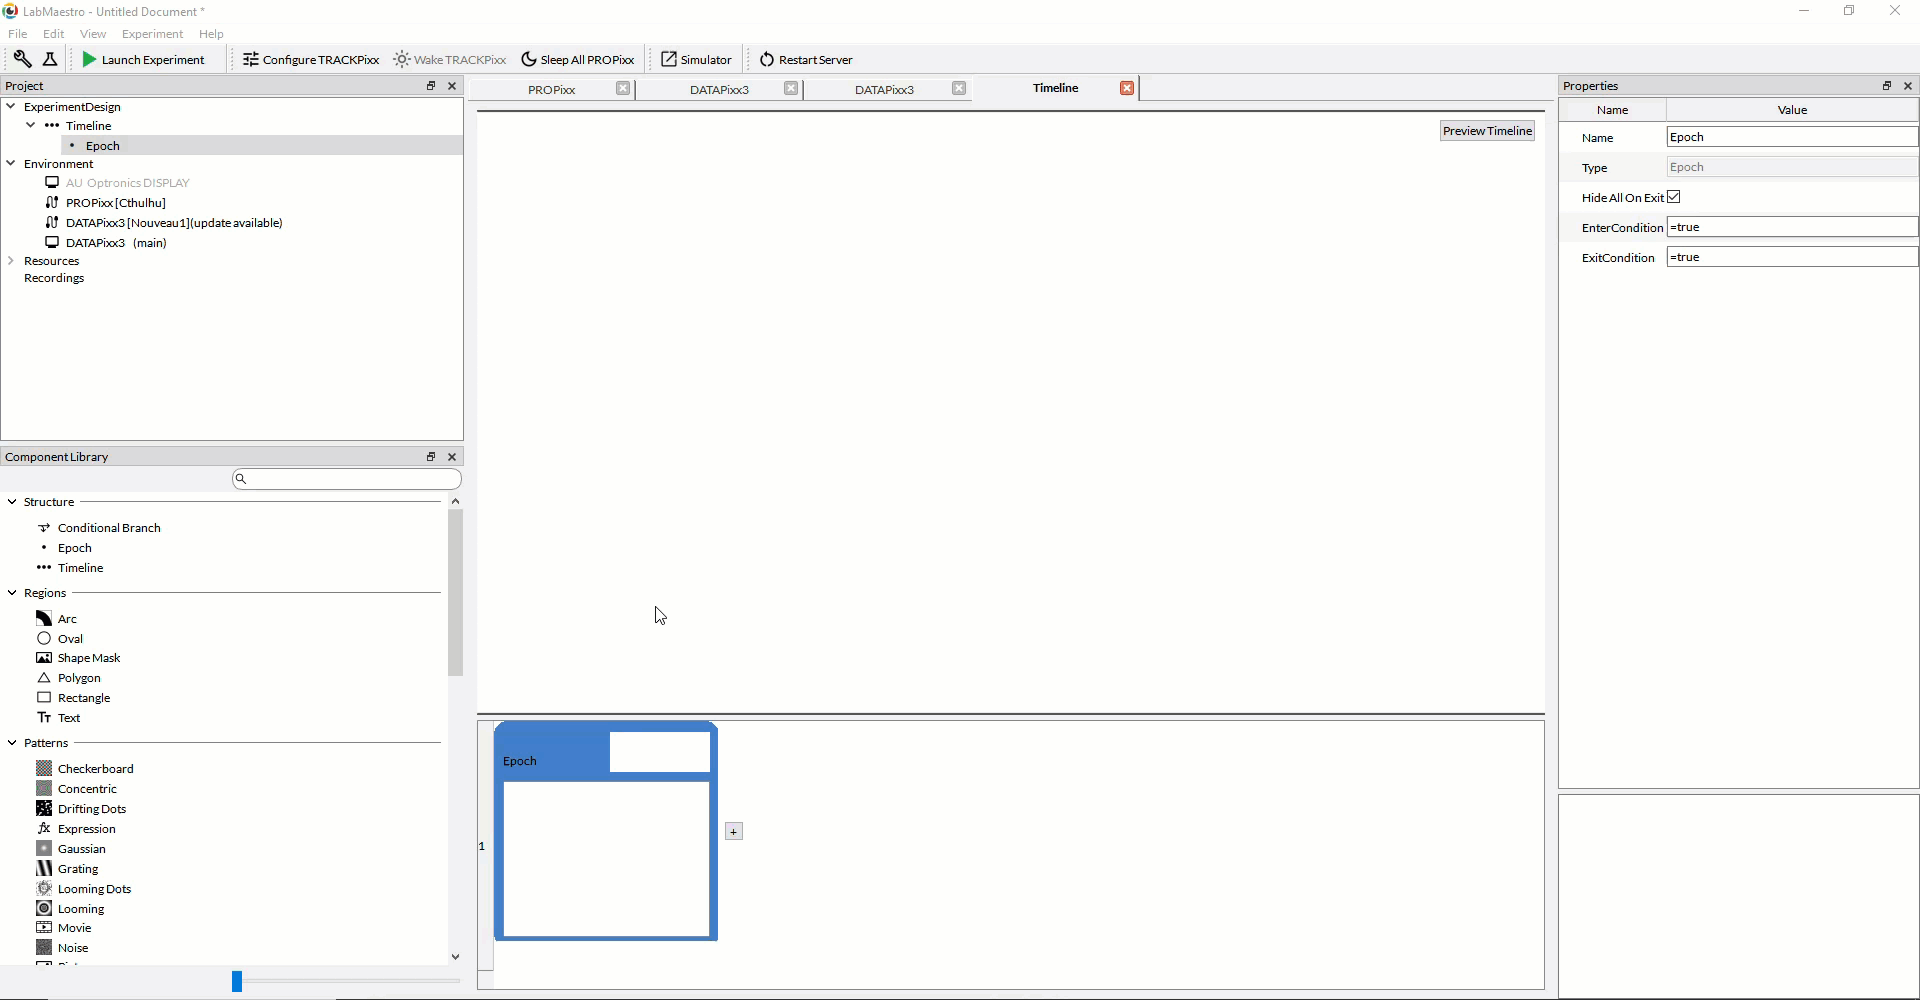
To demonstrate with a simple example: say we would like to have an oval region (a circle), in the center of the display, flickering between full-white and full-black, according to a sinusoidal waveform, with a frequency of 60Hz. The first step would be to add an oval region in an epoch of our timeline.
By default, the color type of the region will be “Full”, meaning that the end-points of the flicker will be full-white and full-black.

If we were to instead choose “Peak Trough” as the color type, we could specify intermediate color values as the end-points; for example, the peak value could be each color channel at 75%, and the trough value could be each color channel at 25%:

With the Oval region selected, under “Properties” → “Flicker Waveform”, check the “Enabled” box, and set the “Amplitude”, “Phase”, “Frequency” and “Shape” parameters of the Flicker Waveform; in this example, we are simply setting the frequency to 60Hz (we will keep the default Amplitude of 1.0, phase of 0.0, and Shape as “Sine”):
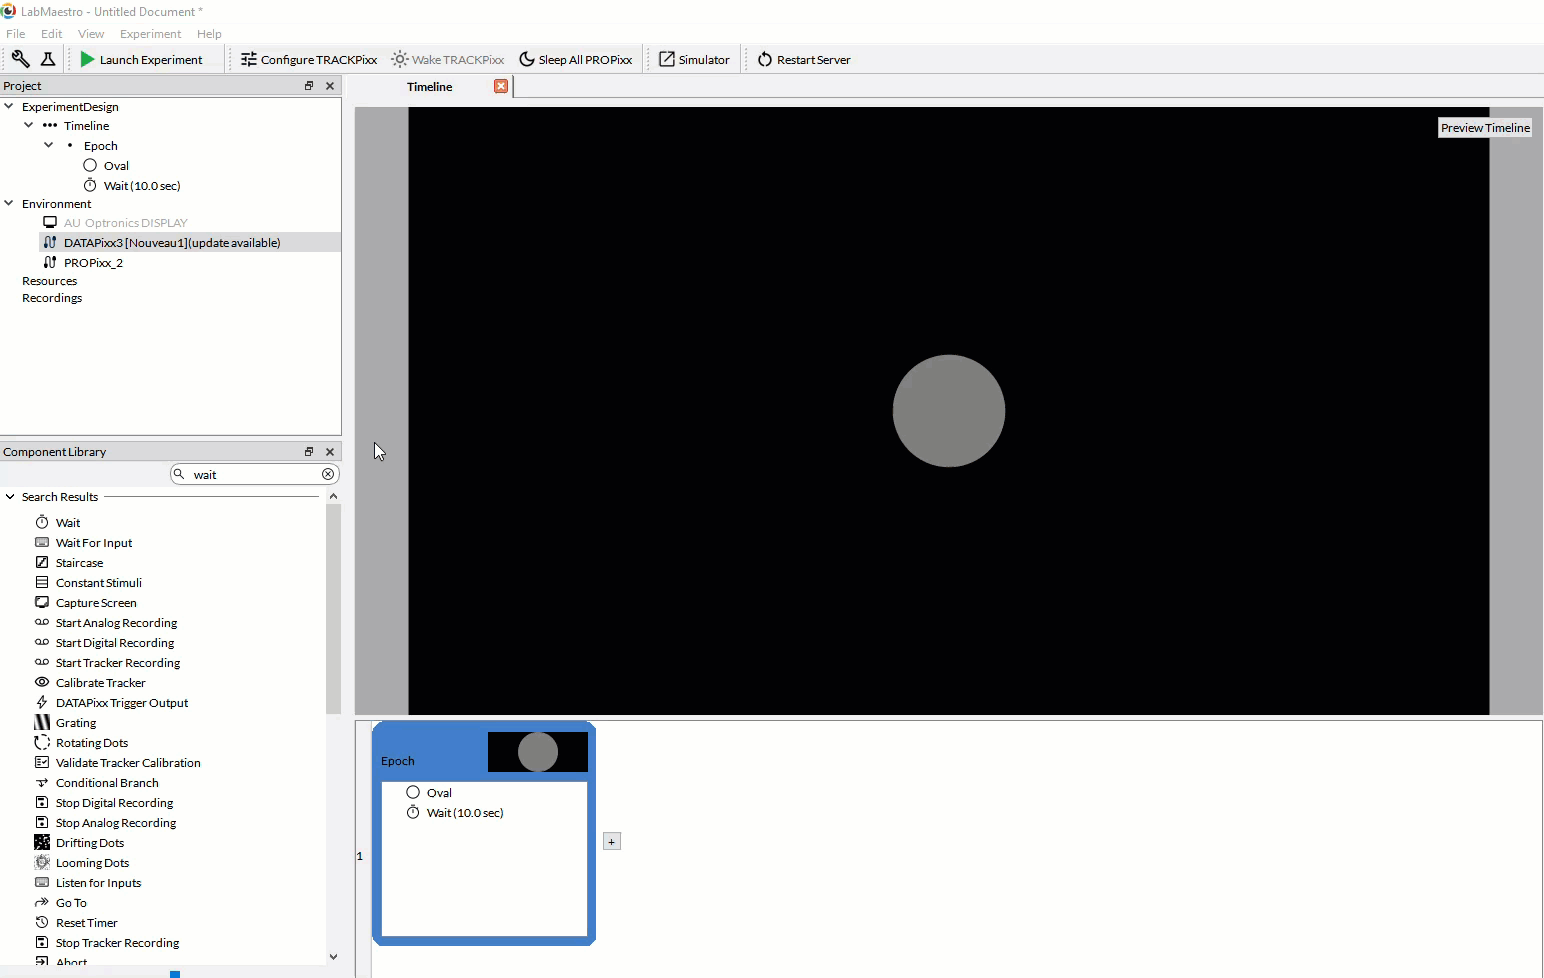
We will add a “Wait” command at the end of the Epoch such that the region is displayed for a sufficient duration of time; in this example, we set the Wait Duration to 10 seconds:
If we are displaying the flickering stimulus on the PROPixx, using the 1440Hz high refresh-rate video mode, we must make sure to set the video mode to “1440Hz Grayscale” on the DATAPixx3 (or PROPixx controller):
Starting with version 1.10 of LabMaestro, video presentation is automatically adjusted for special video modes, such as this one. This means you won’t need to generate composite images with the 1440Hz subframes embedded into different color channels and quadrants of each frame, like you normally would when generating stimuli for the PROPixx QUAD12X sequencer; all of that is done “behind-the-scenes” now in LabMaestro.
The result, when we launch the experiment, is a circle at the center of the screen that sinusoidally flickers between full white and full black at a frequency of 60Hz.

Click the following link to download the LabMaestro project file for this demo:
Flickering a custom shape/region
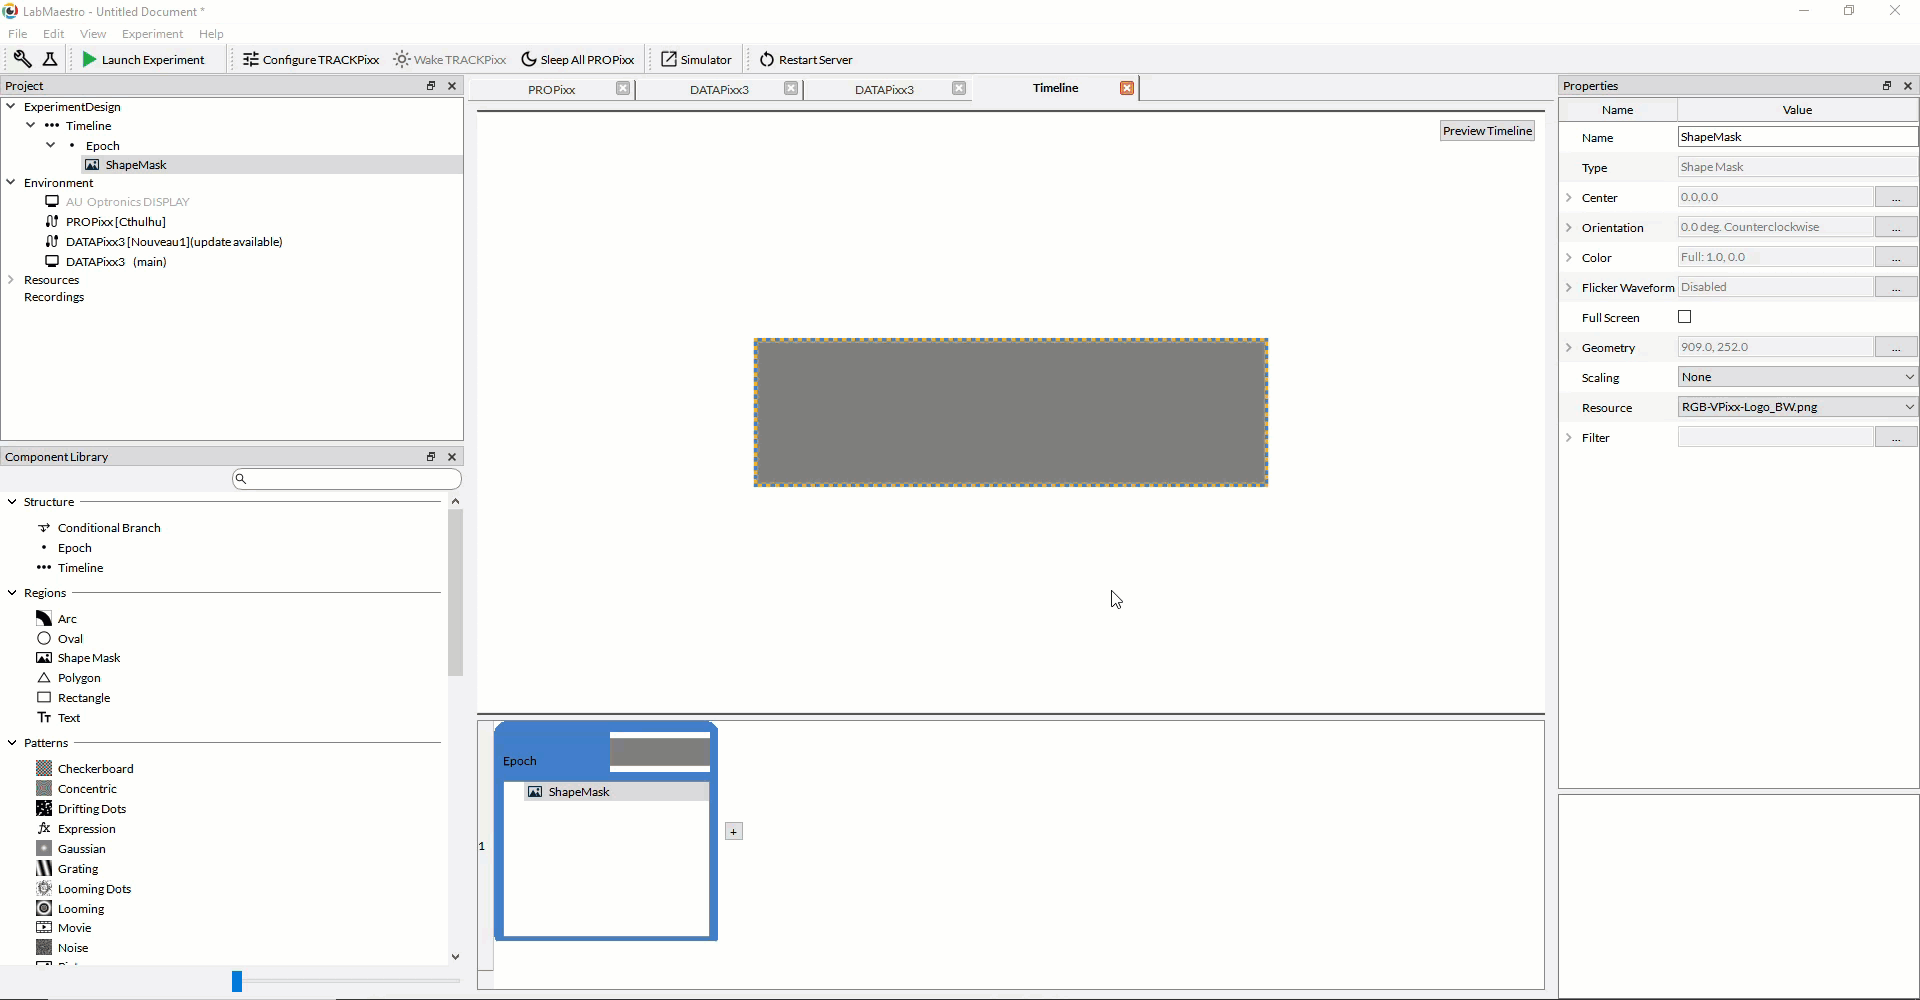
Now that we understand how to flicker a region using the Flicker Waveform property, we will apply it to a more complex shape/image. Assume that we’ve already added the PROPixx and DATAPixx3 to our project (with DATAPixx3 RX1 set as the main display), and that we’ve already set the background of our timeline to our desired color (white, in this example) and set the video mode to “1440Hz Grayscale” on the DATAPixx3. The next step would be to add a custom image as a shape. Any time you have a custom image that you would like to use as a shape/region in your project, you should add a Shape Mask Region. After adding a Shape Mask region to your project, simply select the image file you wish to import in the “Resource” drop-down menu in the Properties panel.
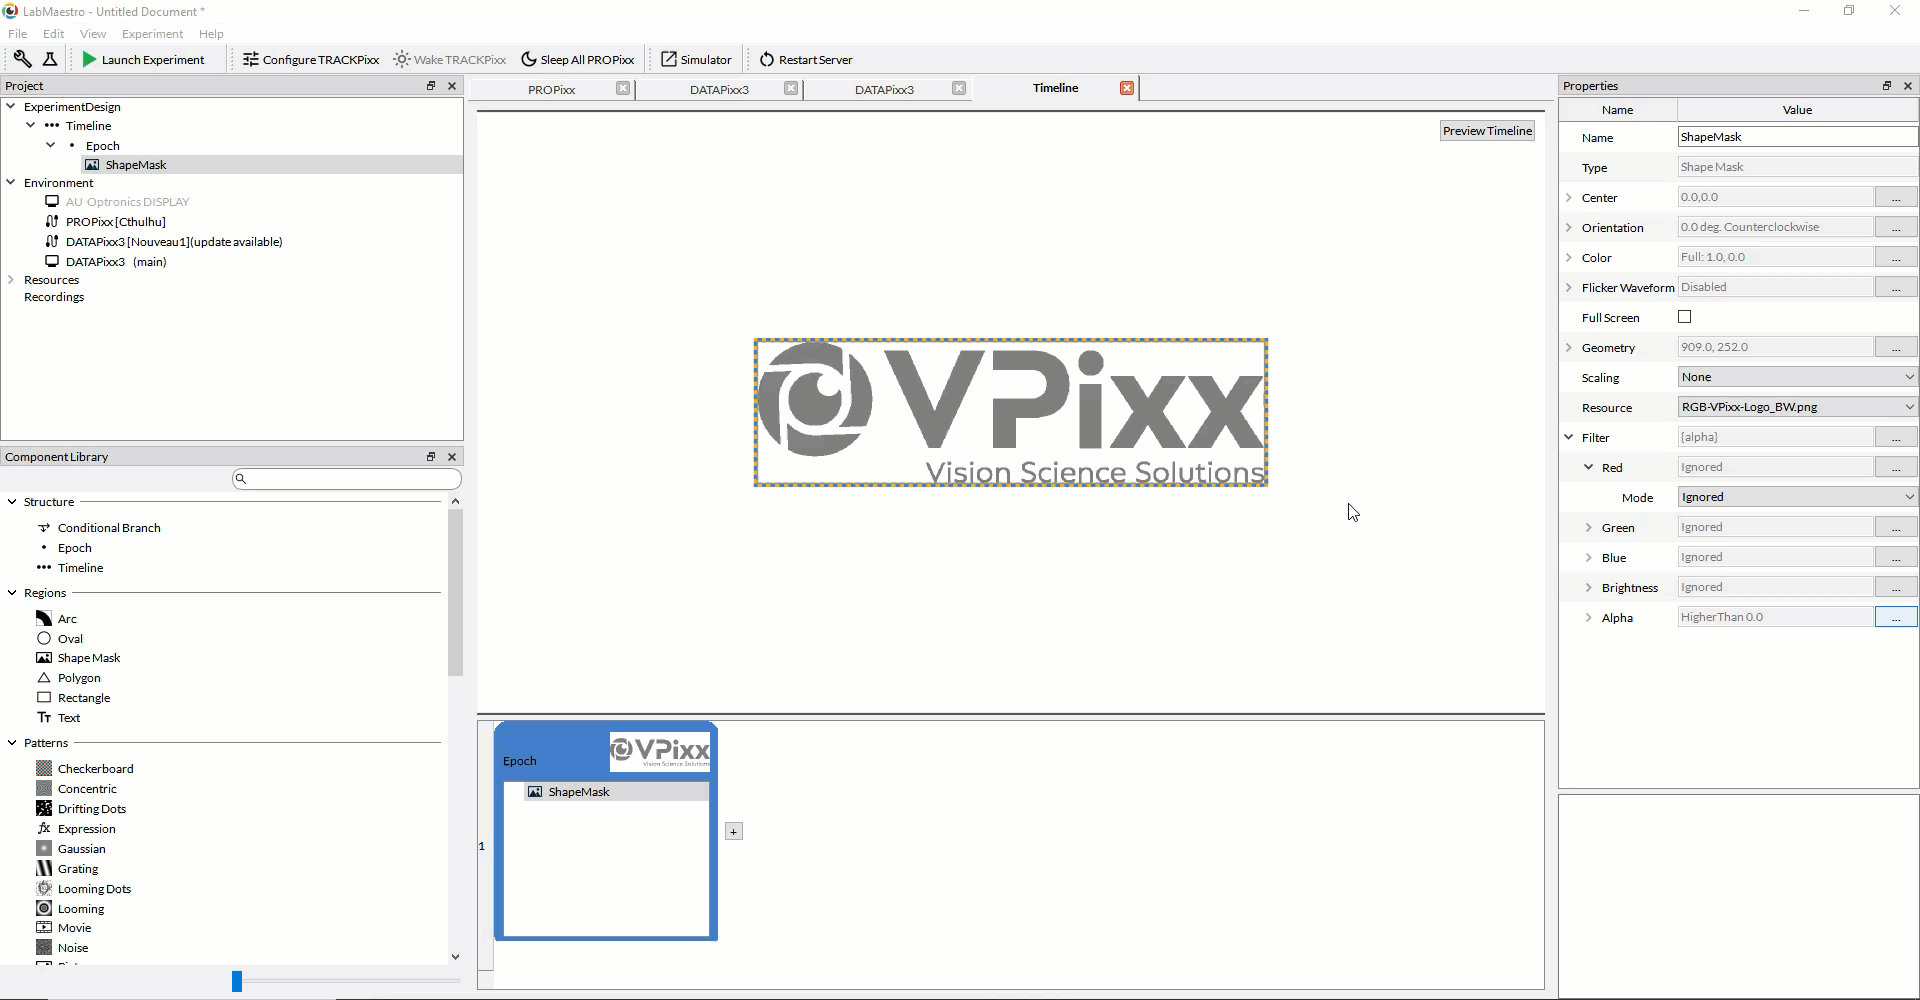
The imported image for our shape mask will be a PNG file containing an alpha channel; specifically, in this example, the image is a VPixx logo with a transparent background (alpha values are 0 for the background). For Shape Mask regions, the user must specify which pixels of the imported image are a part of the shape mask by setting “filters” for each color channel (R, G, B, and Alpha); the filter operates by including any pixel that is greater than/less than a particular threshold value in the shape mask. For example, if we want the background of our imported logo to be truly transparent, we would apply a filter on the Alpha channel, setting the criterion to be greater than 0. Since the values of the background pixels are zero in the alpha channel, they will not be included in the shape mask, and therefore, the background will actually appear transparent.
Finally, we apply the Flicker Waveform property to our Shape Mask region, just as we did for the simple flickering circle example at the beginning of the tutorial. We will also add a 10 second wait to display the stimulus for 10 seconds.
The result, when we launch the experiment, is a VPixx logo at the center of the screen which sinusoidally flickers between full-white and full-black at a frequency of 68Hz.
Click the following link to download the LabMaestro project file for this demo: